
How to Install a Doorway Pull-Up Bar Safely
A doorway pull-up bar goes up in about a minute, but the minute before that — measuring — decides whether the bar sits square and safe. This is how we install ours at home and what we tell every buyer who asks.
Check the door frame first
Look for a solid wooden door frame with trim at least half an inch proud of the wall. Metal and plastic frames, hollow trim and drywall-only openings are not built for body weight. Knock on the trim: a dull, solid sound is what you want.
Pick a doorway you can walk through without ducking once the bar is up, and one that is not the main route through the house — a bedroom or a spare room works best.
Measure width, depth and trim
Measure the inside width between the frame sides, the depth of the wall from one face of the trim to the other, and the height of the trim itself. Compare all three with the product page. Our no-screw heavy-duty bar fits widths from 23.6 to 34.6 inches, a wall depth of 7.8 inches and trim up to 3.54 inches; the thickened steel chin-up bar fits doorways 19 to 39 inches wide.
If a number sits right at the edge of the range, choose another doorway. A bar should fit snugly, never forced.
Assemble and hang the bar
Assemble the bar on the floor with the included tools and tighten every bolt. Hold it at chest height, tilt the long bar up to rest on the trim above the door on the side you will train from, then let the lower bar settle against the inside of the frame.
The foam pads should sit flat on the trim and the frame. If one corner lifts, take the bar down and check the assembly.
Test before the first set
Hang from the bar with your feet still touching the floor and lower your weight slowly. Listen for creaks and look for movement at the pads. Then lift your feet for a dead hang of ten seconds. Only after that start your first pull-up set.
Every session, give the bar a quick tug before you hang. Wood moves with the seasons, and a two-second check costs nothing.
Train smart on a doorway pull-up bar
Controlled reps are the rule: pull up, pause, lower slowly. Kipping, swinging and dropping onto the bar load the door frame in ways it was not designed for. Wide grip trains the lats, narrow and neutral grips are kinder to shoulders and elbows. Hanging knee raises and leg raises turn the bar into a core station.
Can't do a pull-up yet? Start with dead hangs and slow negatives: jump to the top position and lower yourself over three to five seconds. Most beginners get their first full pull-up within weeks.
Leverage bars vs. hooks and screws
A leverage pull up bar needs no mounting hardware: no screws, no hooks, no wall brackets. A screw-in bar holds more for kipping and gymnastics, but it is permanent and leaves holes. For controlled strength training in a home doorway, a well-fitted leverage bar is secure and much easier on the door frame. Adjustable-width bars support a wider range of doorways, so measure first and choose the model whose range sits comfortably around your numbers.
Handling and safety checklist
Grip the bar with dry hands, keep your movement controlled and step down rather than drop. Never stand on a chair to reach the bar while it is mounted, and keep children supervised. Check the pads and bolts once a month; replace worn foam before it lets steel touch the trim. A secure doorway pull-up bar is the safest strength equipment in the house when these few rules are followed.
Take it down and store it
Lift the bar from the bottom and it comes off the frame in one move. Store it flat behind a wardrobe or under the bed, and wipe the foam pads now and then so grit does not mark the trim.
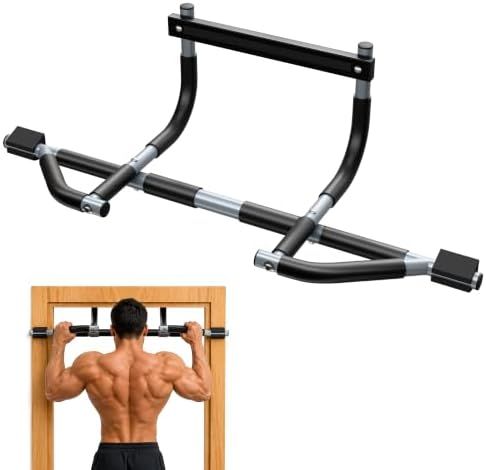
Multi-Grip Doorway Pull-Up Bar
★★★★★★★★★★ 5.0 (3)$39.99
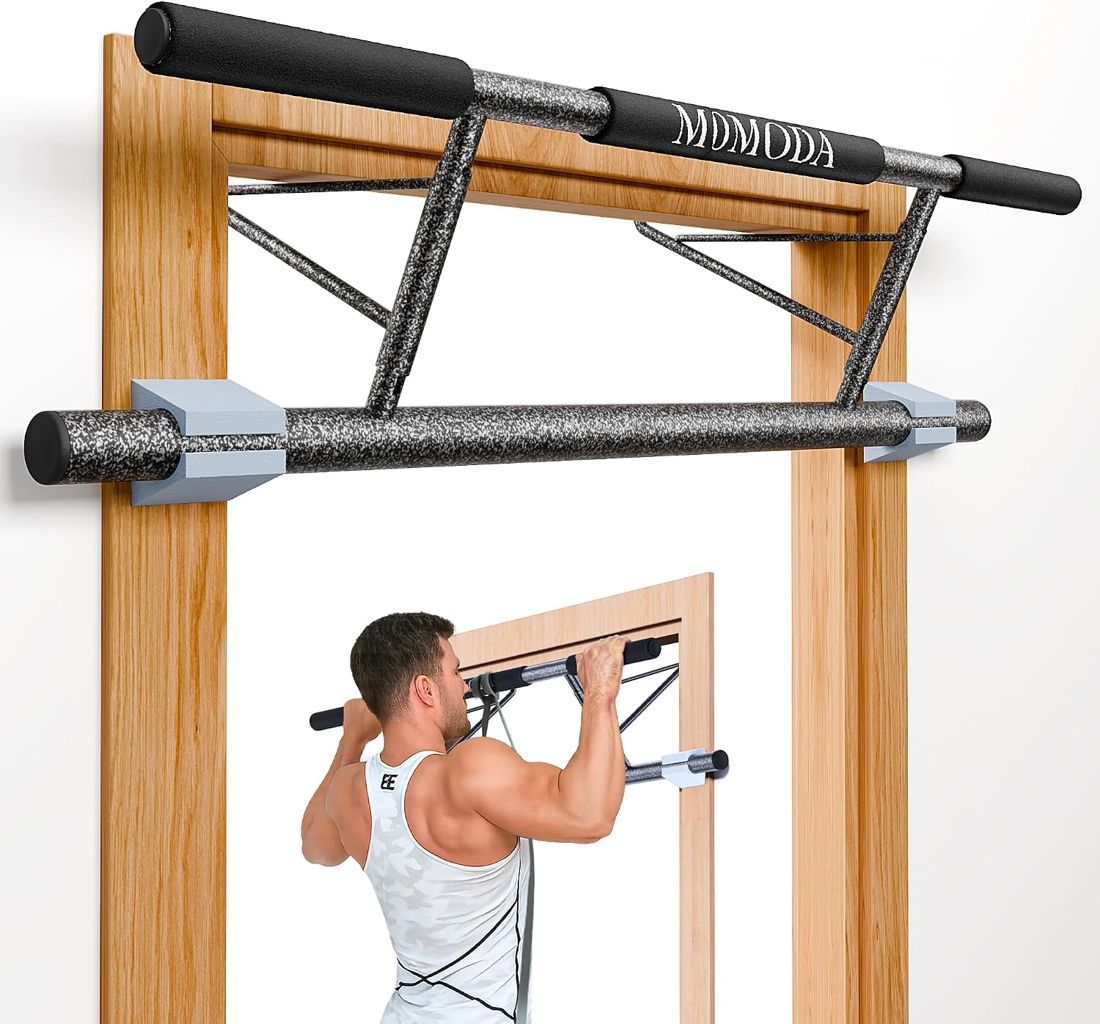
No-Screw Heavy-Duty Doorway Pull-Up Bar
★★★★★★★★★★ 4.4 (71)$34.99